
FAQ
What do I get in a Complete Kombucha Home-Brew Starter Kit?
- 3 Litre tapped jar
- 1 Litre fridge storage bottle
- Hand-made shower cap (breathable jar topper) with brew-tags
- Your own baby SCOBY (Symbiotic Culture Of Bacterial Yeast)
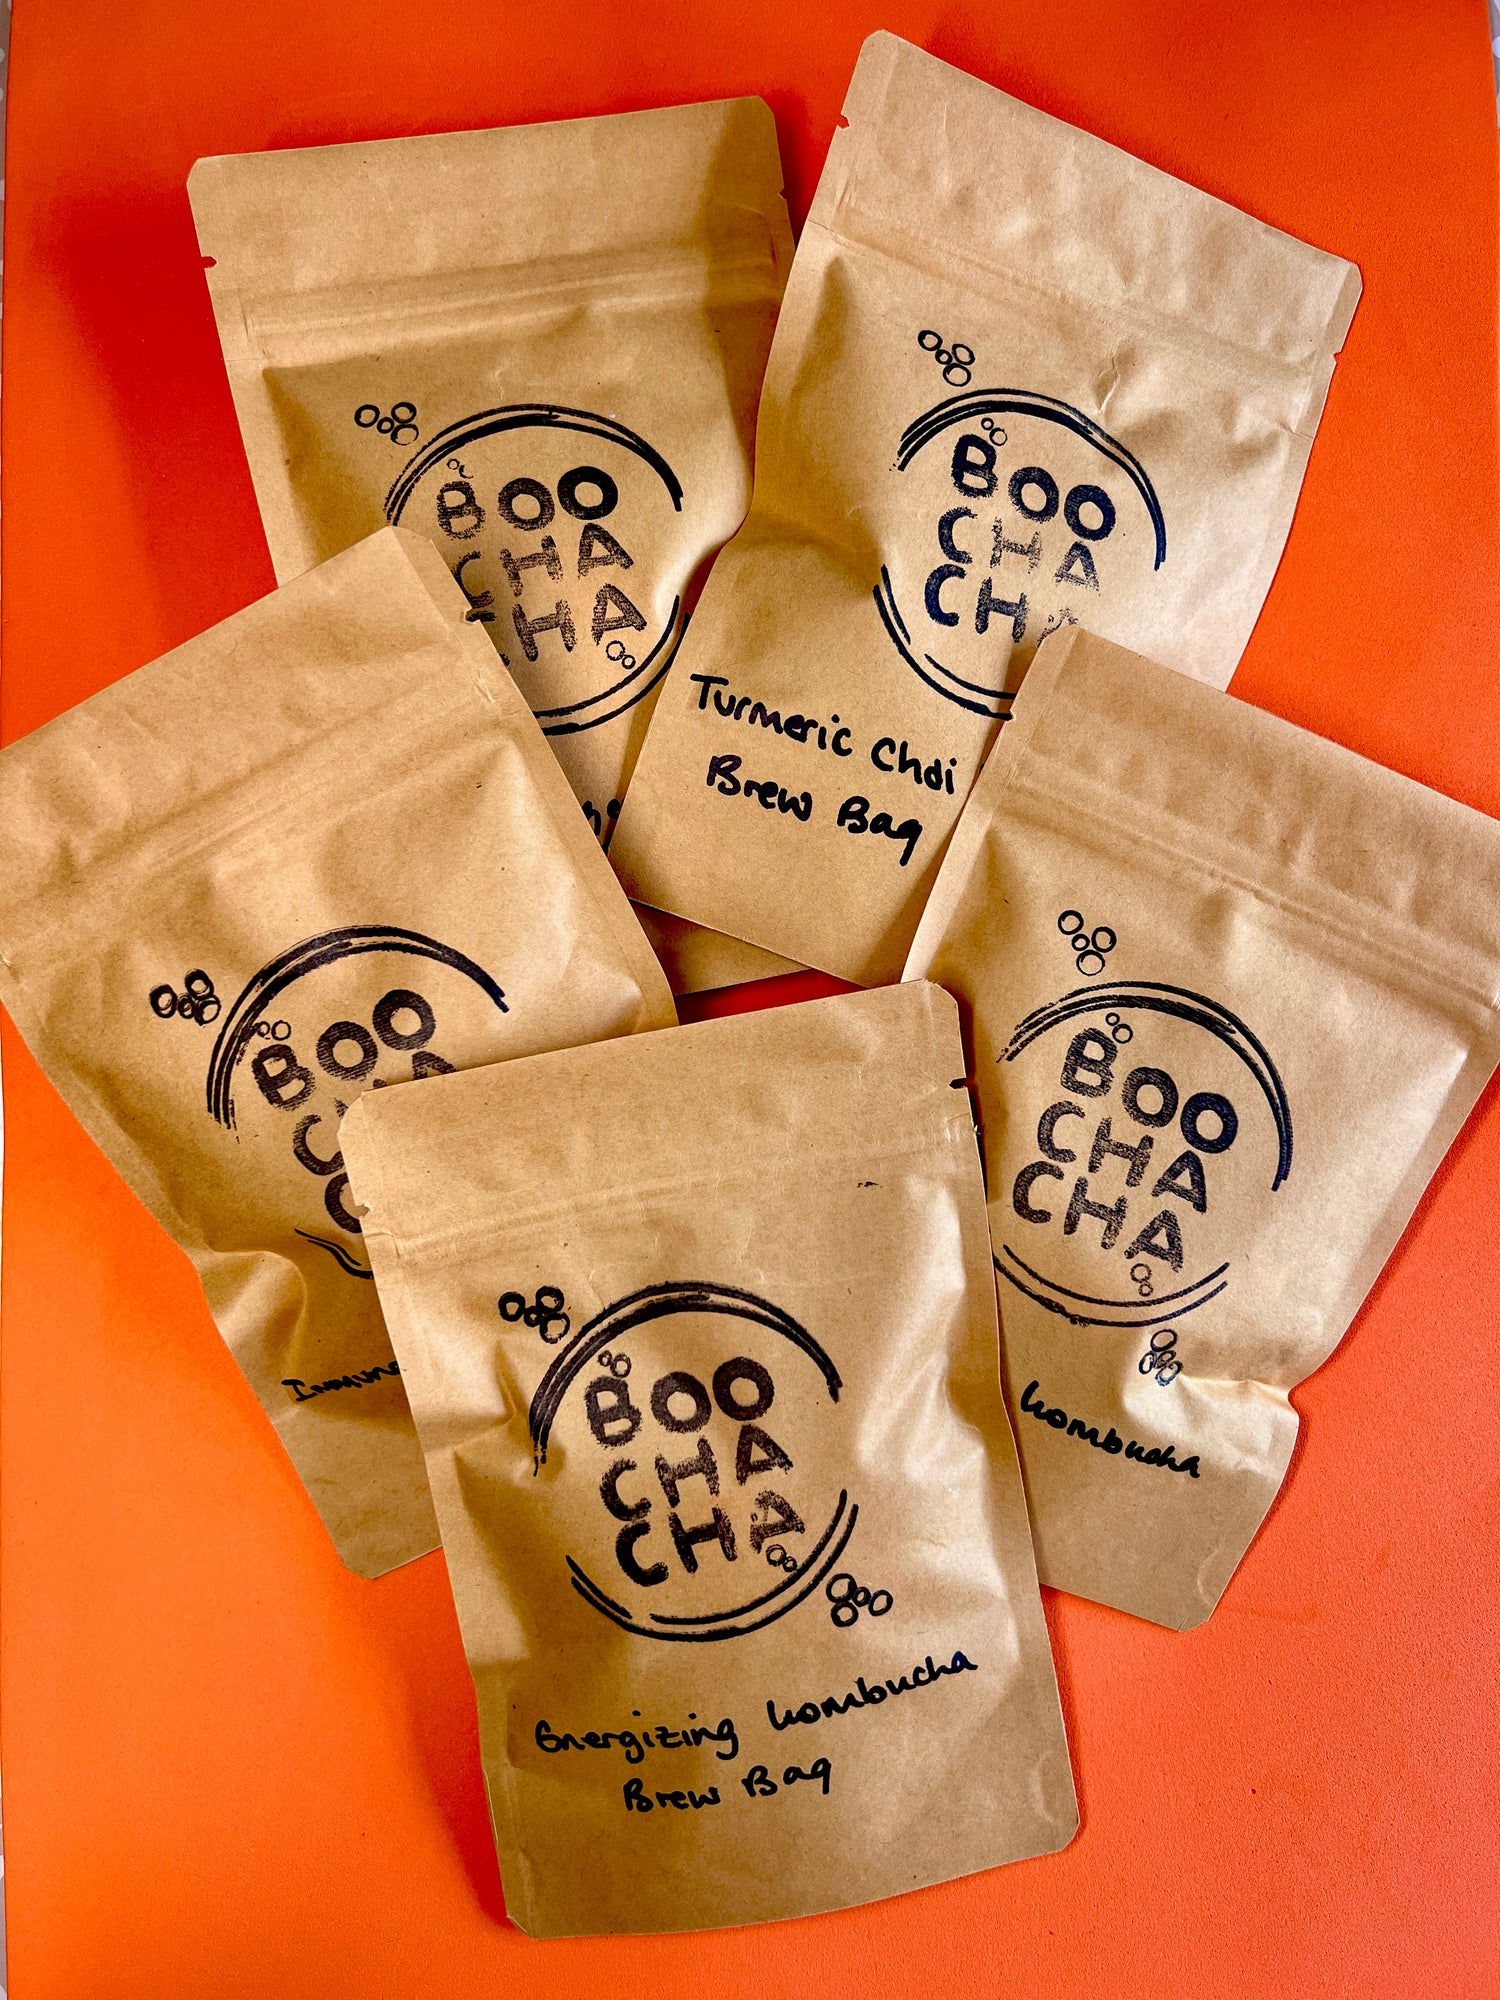
- 2 x Green Tea Kombucha Brew Bundles – all the ingredients needed for approx. the first month of Kombucha
- Welcome pack including fun style instructions, adhesive thermometer & brew calendar
- Crazy new fun knowledge, & unlimited support from The Kombucha Engineer 🙂
What do I need to add to a Basic Kombucha Starter Kit?
Fermentation Vessel. This must be made from either fermentation steel or glass. I recommend a 3 Litre sized vessel to start off your brew. This will leave enough room for the SCOBY, starter liquid and the 2 Litre Green Tea Brew-Bundle’s included. I also recommend a vessel with a tap (sometimes referred to as a “tapped jar”) as this makes the process of a continuous brew SO MUCH easier. You can read more about the advantages of a continuous brew Vs. a batch brew here.
Storage Bottle. This should be made out of glass, have an air-tight lid and fit into your fridge door easily (drained Kombucha must always be stored in the fridge). I recommend a 1 – 2 Litre sized bottle (best size will depend on the size of the fermentation vessel which you’re using) if your fermentation vessel is around 3 Litres.
Breathable Lid. This is typically made from muslin or cotton, and basically just needs to allow the movement of air in and out of the fermentation vessel, but not flies / dust / aliens. It should be clean / sterile / not dusty or with loose fibres that could fall into the brew. A strong piece of kitchen roll can be used with a tight elastic band to hold the edges down. It should seal tightly around the mouth of the fermenting vessel, not have any holes, and remain in place for the whole fermentation process.
What is the thin shiny film growing over the top of my Kombucha brew?
That slimy looking film growing over the surface of your brew is your new baby SCOBY, and is the sign of a super healthy brew! We need to let that grow into a good strong layer during the first and second Kombucha brews, and then you’ll be set up to make Kombucha forever!
It’s really important that you LEAVE YOUR SCOBY WHERE IT IS, and do not to disturb it much with the first few rounds of draining and refilling your jar. It will grow thicker and will give you a much faster fermentation, with more bubbles inside your Kombucha too!
VISIT THE SHOP AND ORDER YOUR KOMBUCHA KIT TODAY!
Every time you make a new brew, a new baby SCOBY will grow! This is perfectly fine, and actually shows that you are doing a really good job. Once you notice that your jar is a bit full, and there isn’t much room for Kombucha, you can remove the bottom (older) layers of SCOBY, but until then – sit back and enjoy the rapid fermentation that a SCOBY family will bring!
You can increase the rate of SCOBY growth by making sure it is in a warm spot around 22-24 degrees … P.S. airing cupboards are perfect!
Why do I need to leave my SCOBY in 3 inches of starter liquid in between Brew 1 and Brew 2?
For the first few brews it is important to be patient, and leave your SCOBY submerged in approximately 3 – 4 inches of starter liquid (Kombucha from the previous batch) for 10 days (the longer you can wait the better) AFTER DRAINING and BEFORE REFILLING.
This is to ensure that the acidity of the starter liquid is low enough to keep the brew safe from contamination, and mould, and is especially useful when getting a new SCOBY going during winter!
This step won’t be needed forever, but at the start it is useful to get the power pumping!!
I'm on a low sugar diet, can I add less sugar?
NO – the sugar is important fuel for the SCOBY to feed on, without the sugar there is no Kombucha. If your Kombucha is a bit on the sweet side for your liking, then let the brew ferment slightly longer next time. Anywhere between 7-21 days fermentation is normal, and should get you that tarty twang!
When will I need to split my SCOBY?
It will be obvious when you need to split your SCOBY! Basically, the fermentation will either be too quick, or there will be no room for Kombucha in your jar.
When it gets to either of those points, just plunge your CLEAN, jewellery free hand into the fermentation vessel, and pull out the bottom layers. These will probably be darker in colour. Keep the top, whiter layers as these are the fresh babies.
You can throw the old ones in the compost, make face-masks or smoothies out of them or turn them into dog treats … YUM! *MUST SEND PICS 🙂
This could also be a good time to clear any sediment from the bottom of the jar out, just pour it out the top with the SCOBY sitting in a clean bowl, then replace the SCOBY layers you’re keeping, and add back enough starter liquid (at least 3 inches worth, and enough to submerge the whole SCOBY).
Do I need to start the Kombucha kit straight away? … What is the shelf life of a kit?
Each kit is guaranteed to be sent with dates that have at least 6 months until the Best Before End Date.
So no you don’t need to start straight away …. but don’t wait too long 😛
What’s the thermometer in my Kombucha Starter Kit for?
To check you are brewing between 20-28 degrees Degrees Celcius (really aiming for 22 degrees)
You can stick it (peel the backing off … its adhesive YAY) to a flat area / the side of your fermentation vessel / tapped jar (whatever you’ve decided to call your SCOBY home)!
How to clean my jar and storage bottle?
- Put it in the sink with a squirt of washing up liquid. Fire the hot (not boiling) water tap into the bottom and let it froth up to the top. Let it soak for 5 minutes, open the tap for 10 seconds to pass some soapy water through. Scrub the sides and bottom.
- I normally use this stage to ensure the tap is set tight enough (see below FAQ).
- After has soaked for 5 minutes, rinse out until the soap is cleared out with cold water, and don’t forget to run some fresh water through the tap!
Another method is to sterilise the equipment, and a great way to do this is to use Milton, which you can buy online or in stores where they sell supplies for babies (the humankind). Follow the directions on the packet for this 🙂
How to check the tap of my BooChaCha Jar is set tight enough?
You can do this by filling the jar with water just above the tap outlet and then sitting it on the side with some paper or kitchen towel under the tap to check for a drip. If it will leak it will start to do so within 10 minutes. If it drips, you can tighten (not too much) the nut at the back of the tap inside the jar to seal, and then check again. Repeat until you have no dripping :)
How to install my tap … SHIPPING UPDATE FROM JAN 22 🙂
Please see Youtube Video, link below 🙂
How long can I leave it before refilling with the next brew?
You can leave a SCOBY in the fermentation vessel, at room temperature, submerged in starter liquid (Kombucha from the previous batch) for 4 – 6 weeks and it will survive.
Just bear in mind that once you put it back to work, it might have gone slightly “dormant” and may take a while to get going with your Kombucha, so don’t panic if the first brew back takes a little longer than normal. You should also ensure that the SCOBY stays submerged, so if the liquid is running low, or you're going away 5 - 6 weeks, make sure you pour some sweet tea in just to make sure your SCOBY stays healthy!
y
My SCOBY is floating / sinking and then sinking / floating – is it OK?
Yep, some will float then sink, some might always float, some will sink a little bit then float haha!
You can probably guess it doesn’t matter where you SCOBY ends up hanging out, there are many things which effect the SCOBY in this way, but mostly they revolve around complicated yeast science!
The top pops up and my Kombucha fizzes when I open the storage bottle, is that normal?
It is normal for a very small amount of fizz to pop out whilst the bottle is stored in the fridge, but this shouldn’t be a huge amount as the fermentation of the Kombucha is stopped when it is chilled.
What is fresh, raw, natural Kombucha?
When we talk about fresh Kombucha; we mean Kombucha that has been bottled straight from a natural fermentation, delivered to you, the consumer as quickly as possible, to be refrigerated for a shelf life of 7 days.
When we talk about raw Kombucha; we mean Kombucha that has not been pasteurised or filtered in any way shape or form. You can see this as raw Kombucha will often form a light sediment within the bottle (which by the way is totally normal, natural & fine to consume).
When we talk about natural Kombucha; we always make our Kombucha without any nasty surprises. Our Kombucha will never contain unnatural flavourings, extra sugars or preservatives. Our Kombucha contains only the ingredients needed; Green Tea, Sugar, & Live Kombucha Cultures.
Order your “Try-before-you-brew-or-buy” of our fresh Kombucha here!
How much Kombucha should I drink?
The Kombucha we make here is Kombucha in its purest form! I think my body likes having around 100-120ml each day, which is what I am recommending, however it is important you introduce it to your diet slowly, and consider other dietary factors which may influence how you respond.
All I can say on this is listen to your body, see how it makes you feel! If it makes your insides wobbly or mildly upset, give it a miss the following day and then try a smaller serving. Are you really craving another kombucha, I know its delicious, or are you just craving a glass of water? Take baby steps with it, be kind to your body, and treat yourself to PRE-biotics too, like fruits and veggies, and like the parent that was always right, everything is best in moderation! Sorry, I know we’ve all heard that one before!
Sediment/lumps in storage bottle, should I throw it away?
Nope! Little bits and bobs of SCOBY matter may make its way into the storage bottle when you drain it from the jar, all of this is totally fine, and they have nutritional benefits if you feel like drinking them! But if you don’t, just filter them out!
You may also grow a tiny SCOBY in the storage bottle, depending on how long you let the Kombucha ferment before bottling! This is perfectly normal, if anything – its a good sign 🙂
IM ON A LOW SUGAR DIET, CAN I ADD LESS SUGAR?
LUMPS/SOMETHING WOBBLY COMING/HANGING OUT OF MY TAP, SAVE ME!
HOW TO INSTALL MY TAP … SHIPPING UPDATE FROM JAN 22 🙂
BOOCHACHA
The drink that’s good
for you & the planet!
© 2024 BooCHACHA | All Rights Reserved